
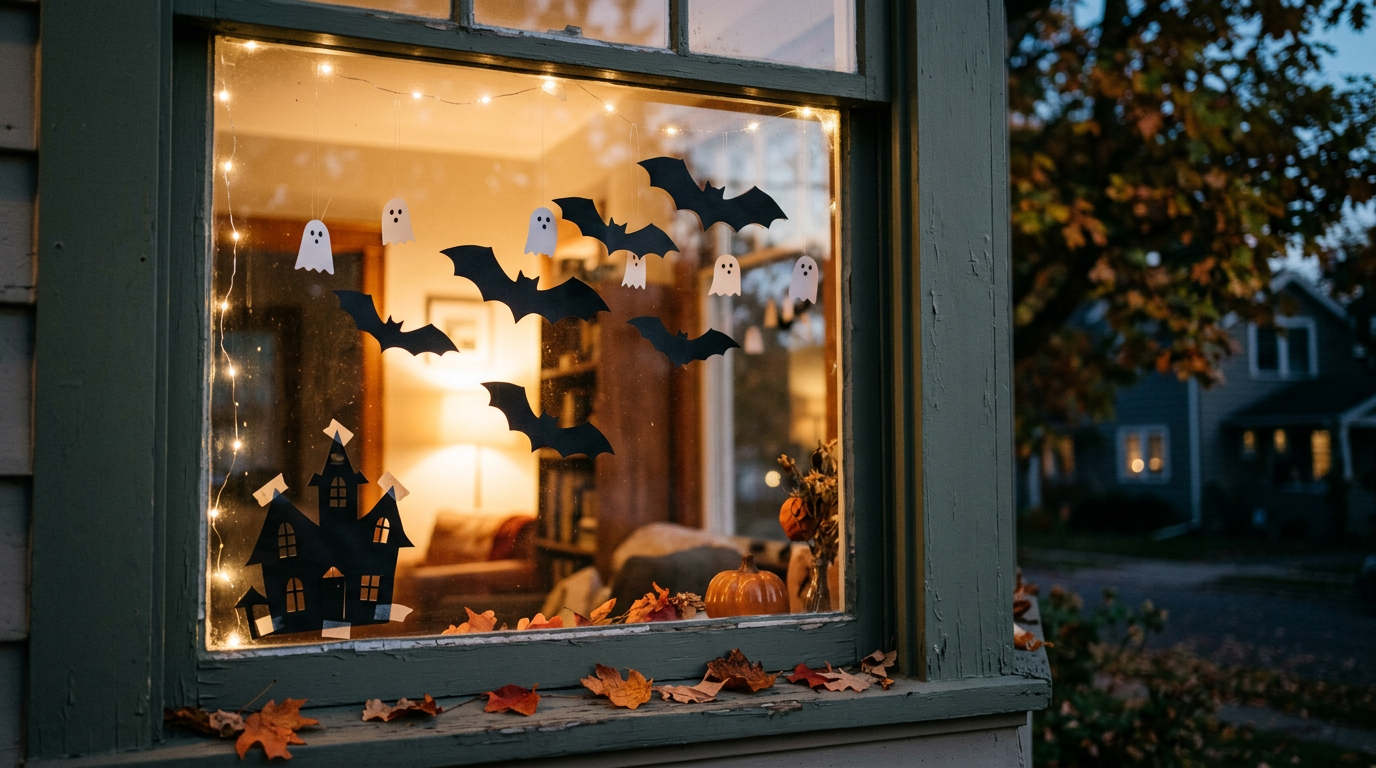
Halloween window art covers any decoration that turns your glass into a spooky scene, from paper silhouettes to reusable clings and glowing cutouts. You can finish most designs in under an hour.
I like this style because the glass does the heavy lifting. Light shines through, shapes pop, and your house looks decorated from the street without a single lawn prop.
This guide covers the best materials, 10 easy Halloween window decorations, and the mistakes I would skip. Every idea works on a budget, and none needs a craft degree.
Top Materials for Easy Halloween Window Decorations
Black cardstock and construction paper give you the sharpest Halloween window silhouettes. They block light, so shapes look crisp against a lit room or a bright sky.
Reusable window clings and static clings stick to clean glass without glue. Tissue paper, clear contact paper, and LED string lights cover the rest of the glowing, layered looks.
I always pick battery-operated LED lights over candles for window displays. They stay cool, they never scorch paper, and they save you from a very awkward conversation with the fire department.
| Material | Best Use | Quick Note |
|---|---|---|
| Black cardstock | Silhouettes and cutouts | Cut with sharp scissors for clean edges |
| Static window clings | Fast, reusable decor | Stick best to clean, smooth glass |
| Tissue paper | Glowing stained glass looks | Needs a light source behind it |
| Clear contact paper | Holding paper shapes in place | Peels off without sticky residue on most glass |
| LED string lights | Glowing outlines and webs | Choose battery packs for easy placement |
| Painter’s tape | Hanging paper and straight edges | Test a corner on older frames |
10 Best Halloween Window Art Ideas to Try This Year
Idea 1: Black Paper Bat Silhouettes
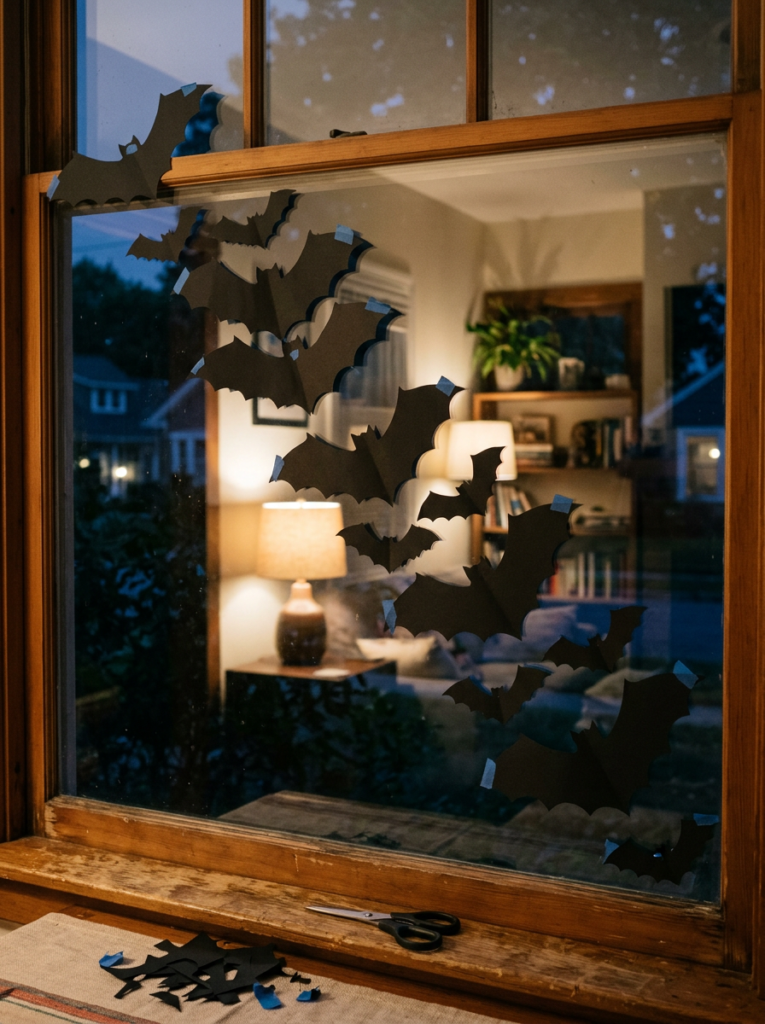
Paper bats give you a fast, cheap Halloween window decoration with a big payoff. Cut a small body and two scalloped wings from black cardstock, then repeat in three or four sizes.
Tape them in a loose diagonal line so they look like they fly out of a cave. I would hang the biggest bat near the corner, since it makes the whole flock feel closer.
Silhouettes work best against a lit room at night. Switch on a lamp behind the glass, and the bats turn from craft project to horror movie.
Idea 2: Reusable Static Window Clings
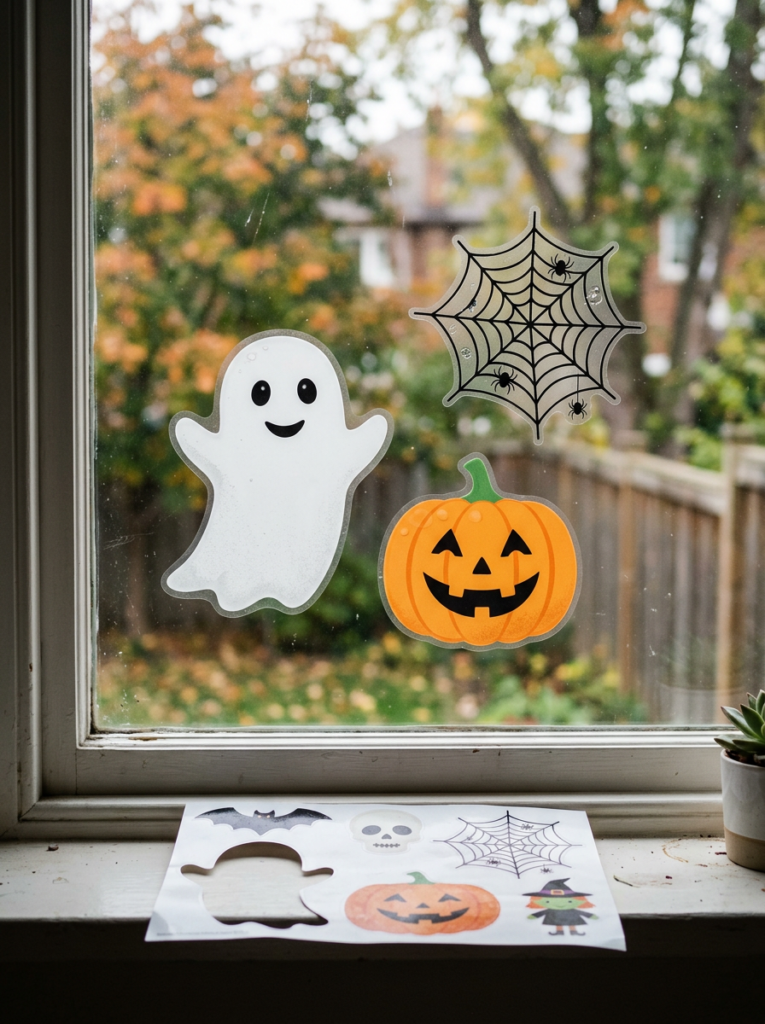
Static window clings give you the easiest spooky window decorations for renters and busy people. Peel one off the sheet, press it onto clean glass, and you finish in seconds.
Mix a few shapes, like ghosts, pumpkins, and cobwebs, instead of buying one huge pack of the same design. Variety looks more planned and less like a store display.
Store the clings flat on the original sheet after Halloween. Dust and lint weaken the grip, so wipe them with a damp cloth before you reuse them next year.
Idea 3: Layered Haunted House Cutout
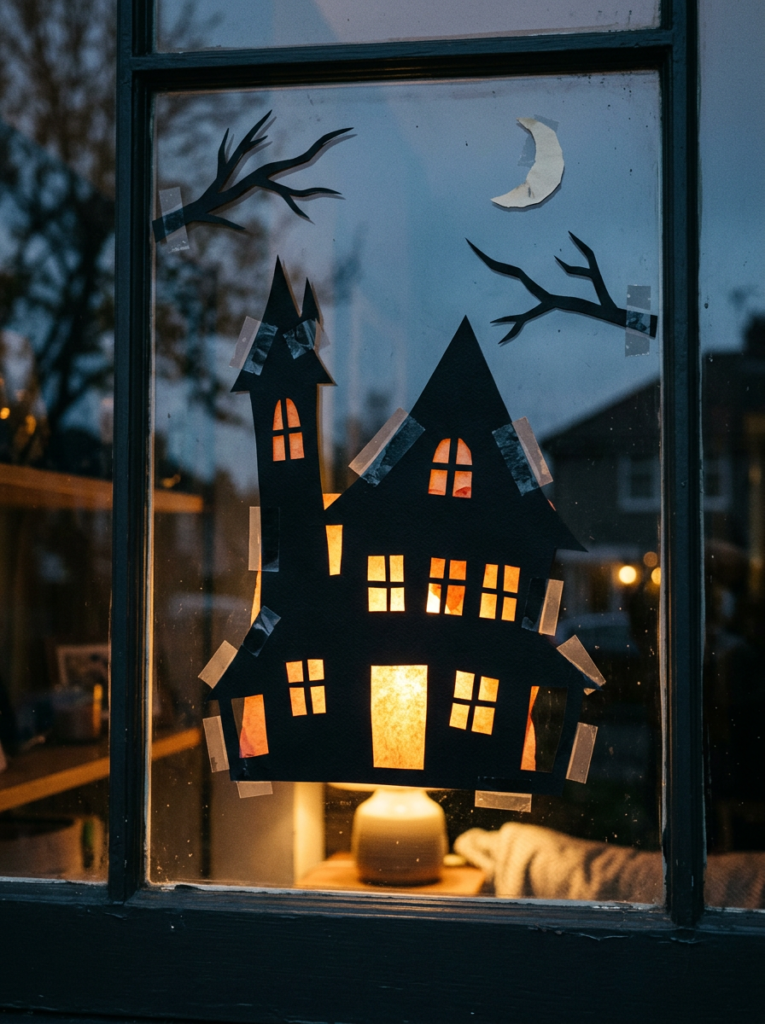
A paper haunted house cutout turns one window into a full scene. Cut a black house shape with a crooked roof and a tall tower, then slice out small squares for windows.
Tape yellow or orange tissue paper behind the cutout squares. When light hits the glass, the tiny windows glow, and the house looks lived in by something unfriendly.
Add a few bare branches and a pale paper moon above the roof. I would keep the colors limited to black, yellow, and white, since fewer colors read clearer from the street.
Idea 4: Tissue Paper Stained Glass Pumpkins
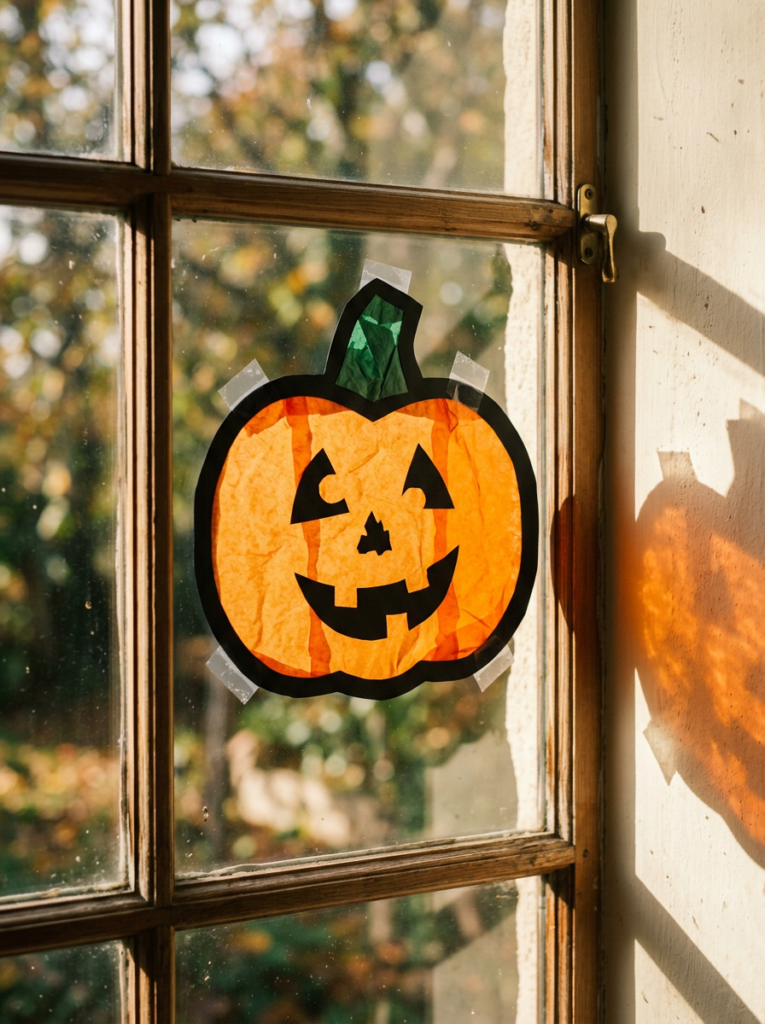
Tissue paper pumpkins give your window a warm, stained glass glow. Cut a pumpkin outline from black cardstock, then tape orange tissue paper behind the open center.
Add green tissue for the stem and a cardstock face on top. I like a lopsided grin, since a perfect one looks like a store sign.
Sunlight makes this idea shine in the daytime. Stack two layers of tissue if the color looks pale, and the pumpkin glows richer.
Idea 5: LED String Light Spider Web
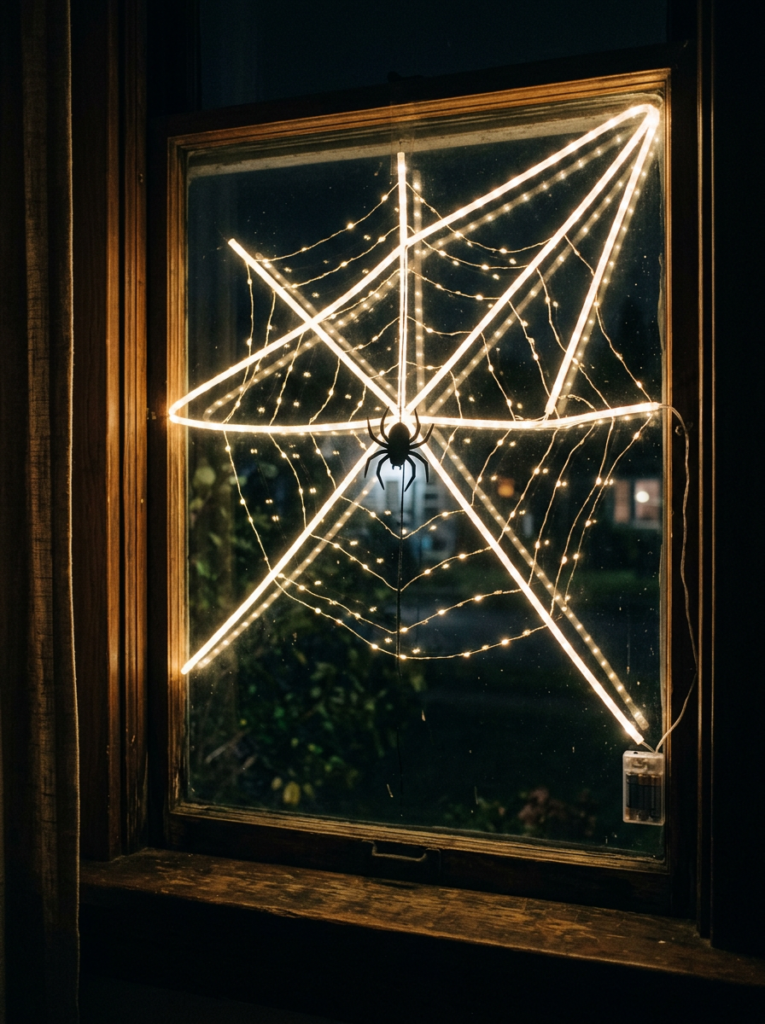
An LED spider web outlines your window in light, so it looks great at night. Tape a few light strands from the corner in straight lines, then loop curved strands between them.
Use white or cool blue lights for the creepiest silk effect. Warm yellow bulbs make the web look more like holiday lights than a spider trap.
Hang a black paper spider at the center on a thin string. Keep the battery pack tucked in the frame corner, and the whole display looks clean from outside.
Idea 6: Black Cat on a Paper Moon
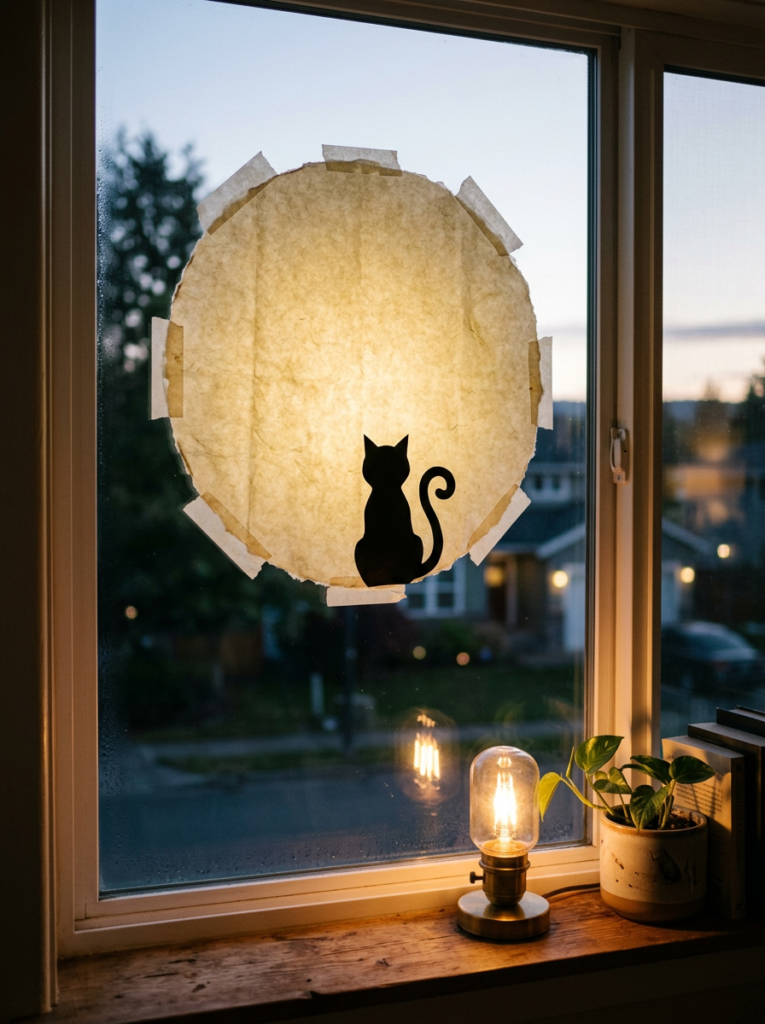
A black cat on a paper moon feels classic, and it needs only two pieces of paper. Cut a large circle from yellow or white paper, then tape a black cat silhouette across the bottom.
Give the cat a curved back, a raised tail, and two pointed ears. A bored cat always looks funnier than a scared one, so I would skip the dramatic hiss.
Hang the moon near the top of the window, so the cat seems to perch in the sky. A small lamp behind the glass makes the paper moon glow.
Idea 7: Floating Paper Ghosts
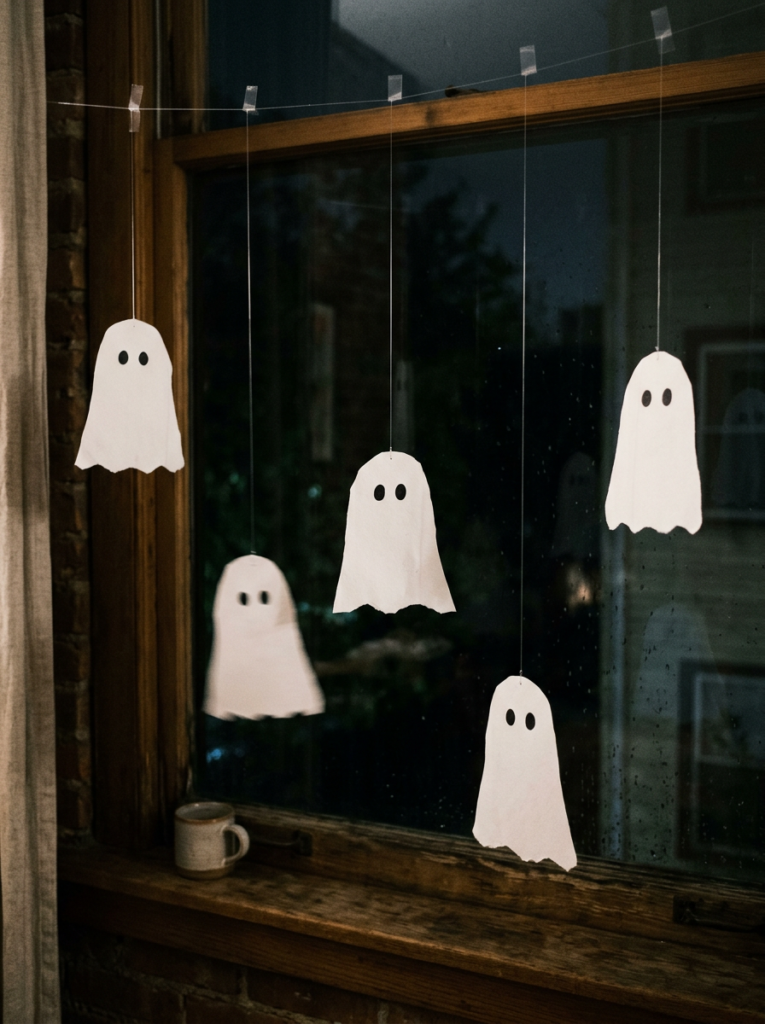
Floating ghosts bring a soft, friendly spooky mood to any window. Cut ghost shapes from white paper or thin white fabric, then add two black circles for eyes.
Hang them on clear fishing line at different heights, so they float and sway with a little air. Uneven spacing looks more natural than a neat row.
White shapes need a dark background to stand out. Close the curtains behind the glass or switch off the room light, and the ghosts pop.
Idea 8: Glowing Eyes Cutouts
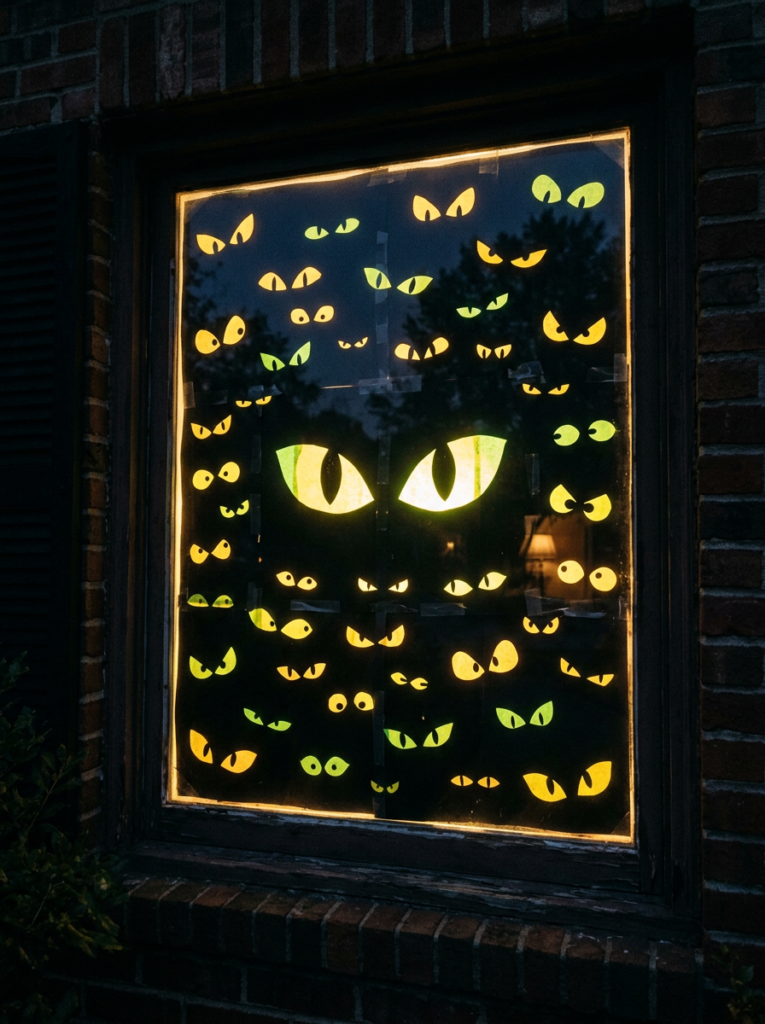
Glowing eyes cutouts scare passersby with almost no work. Cover a pane with black paper or a black trash bag, then cut pairs of eye shapes in different sizes.
Place yellow or green tissue paper behind each cutout. Turn on a lamp or a bright LED behind the glass, and the eyes glow in the dark.
Mix round, slanted, and tiny eyes to fill the space. I would add one huge pair in the middle, because every good haunted window needs a star.
Idea 9: Peeking Skeleton Hands
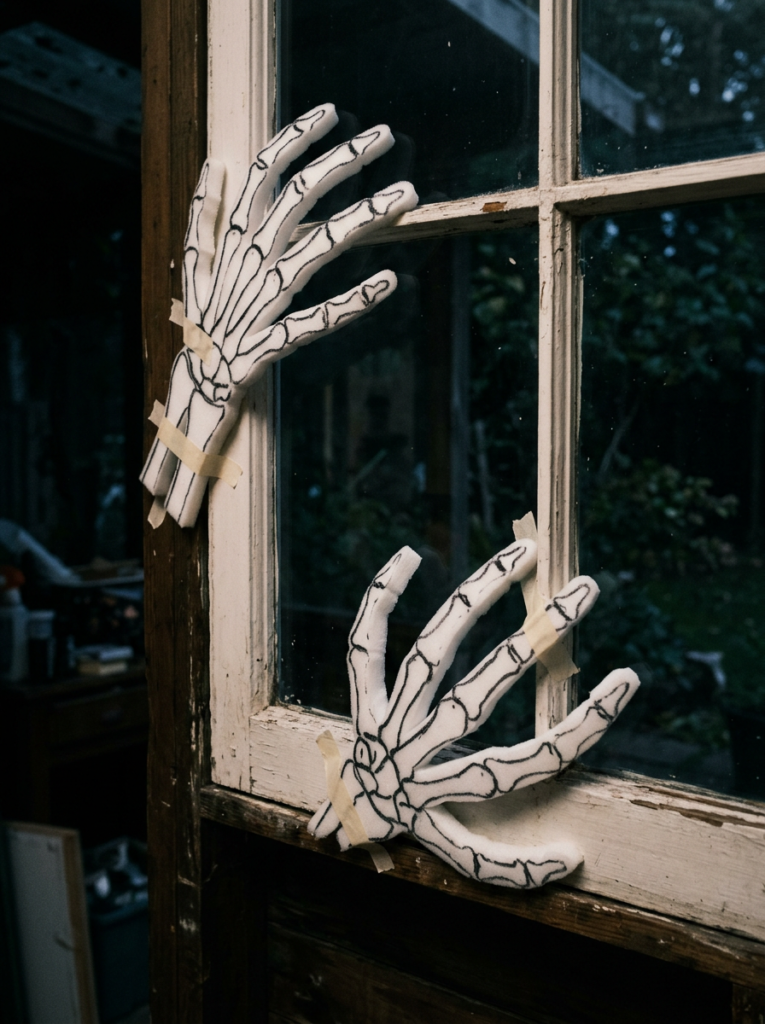
Skeleton hands peeking over the window frame add a cheeky scare. Trace your own hand on white cardstock or craft foam, then cut it out and add finger bone lines with a black marker.
Tape the hands along the bottom or side edge, so they look like they climb in from outside. I would stagger a few left and right hands at different angles, since a perfect row looks like a hand-print worksheet.
This idea works on any window with a visible frame. A dark room behind the glass makes the white bones stand out from the street.
Idea 10: Black Paper Graveyard Border
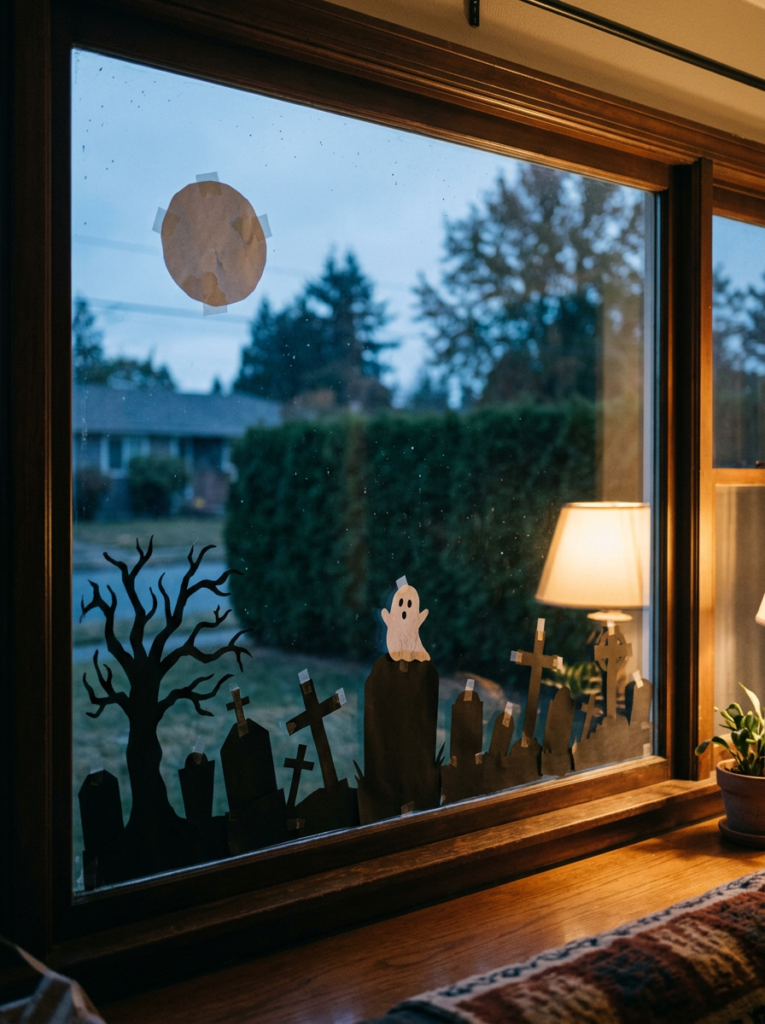
A paper graveyard border fills the bottom of a wide window with a full spooky scene. Cut tombstones in different heights from black cardstock, then add crooked crosses and a few bare tree shapes.
Tape the pieces along the lower edge, so the skyline rises from the sill. I like adding a small paper ghost or a cat on one stone for a little humor.
Add a pale paper moon above the scene to finish the look. Backlight from a lamp or LED strip makes the silhouettes sharp and dramatic at night.
5 Common Halloween Window Art Mistakes to Avoid
Skipping the glass cleaning causes most sticking problems. Dust and fingerprints weaken clings and tape, so wipe the pane with a clean cloth first.
Using the wrong tape leaves marks and peeling paint. Painter’s tape or removable tape holds paper well and comes off cleanly on most frames and glass.
Crowding the window hides your best shapes. I leave some empty space around each design, so the eye finds the focal point fast.
| Mistake | What Happens | Easy Fix |
|---|---|---|
| Skipping the glass cleaning | Clings and tape slip off | Wipe the pane first |
| Using strong tape | Paint or residue peels off | Choose painter’s tape |
| Overcrowding the window | Designs blur together | Leave open space |
| Using real candles | Paper catches fire | Use LED lights |
| Ignoring the view from outside | Shapes look odd from the street | Step outside and check |
Real candles near paper create a fire risk. Battery LED lights give you the same glow with no worry.
Ignoring the street view hides problems you cannot see from inside. Walk outside, look at your window, and adjust any shape that reads oddly.
Conclusion: Make Halloween Window Art Your Easiest Spooky Upgrade
Halloween window art gives you a big spooky look for a small budget. Paper silhouettes, window clings, tissue paper, and LED lights cover almost every idea in this guide.
Start with simple designs like bats, ghosts, and clings if you feel nervous. Move on to haunted houses, glowing eyes, and graveyard borders once you warm up.
Clean the glass, use gentle tape, and swap candles for LEDs. Then step outside and enjoy the view.
FAQs About Halloween Window Art
What is the easiest Halloween window art for beginners?
Paper bat silhouettes and reusable window clings are the easiest. You cut or peel, then stick, and you finish in minutes.
What materials work best for Halloween window decorations?
Black cardstock, static clings, tissue paper, and LED string lights work best. They cost little and look sharp on glass.
How do I hang paper decorations on a window without damage?
Use painter’s tape or removable tape. Test a small corner first, especially on older frames or tinted glass.
How do I make Halloween window art glow at night?
Place a lamp or LED lights behind the glass. Tissue paper and cutouts glow best with light shining through them.
Can I reuse Halloween window decorations next year?
Yes, you can. Store clings flat on their sheet, and keep paper shapes in a folder away from moisture.
Are window decorations safe for kids to help with?
Yes, with simple tasks. Let kids tape, stick, and decorate shapes, and keep scissors and lights for adults.
How is Halloween window art different from painting windows?
Window art uses paper, clings, and lights, so you skip cleanup. Painting works too, but it needs more drying and wiping time.