
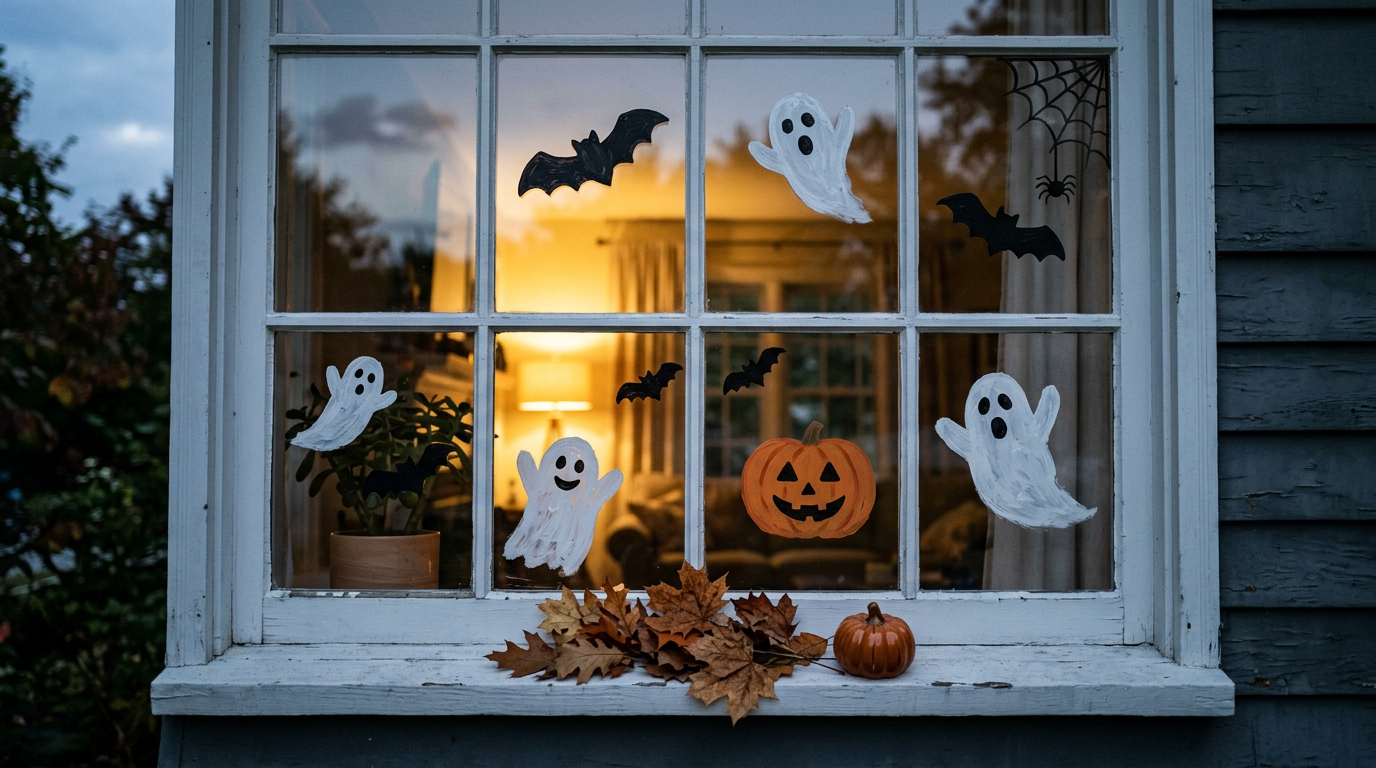
Halloween window painting turns a plain pane into a spooky scene with washable paint, a brush, and about an hour. Simple shapes like ghosts, bats, and pumpkins do the job.
I love this craft because it costs little and looks great from the street. Neighbors notice painted windows faster than any plastic skeleton on a lawn.
This guide covers the supplies, 10 Halloween window art ideas, and the mistakes that ruin a design. I also share cleanup tips so your glass shines again on November 1.
Top Supplies and Prep Tips for Halloween Window Painting
Washable tempera paint works well on glass and wipes off with a damp cloth. Many crafters add a small squirt of dish soap so the paint sticks and cleans up faster.
Window markers and liquid chalk markers give you cleaner lines. I like them for small details like faces and spider webs, since brushes blur tiny shapes.
Wash the glass first, then tape your paper sketch to the opposite side and trace it. Paint the inside of the pane if rain is in the forecast.
| Supply | Best Use | Quick Note |
|---|---|---|
| Washable tempera paint | Large shapes and solid color | Wipes off with a damp cloth |
| Window markers | Faces, outlines, small details | Dry fast, so draw with confidence |
| Liquid chalk markers | Bold lines and lettering | Test a small spot first |
| Painter’s tape | Straight edges and borders | Peel it off before the paint fully dries |
| Foam brushes | Smooth, even coats | Cheap, so buy a few |
10 Best Halloween Window Painting Ideas to Try This Year
Idea 1: Friendly Ghost Trio for Beginners
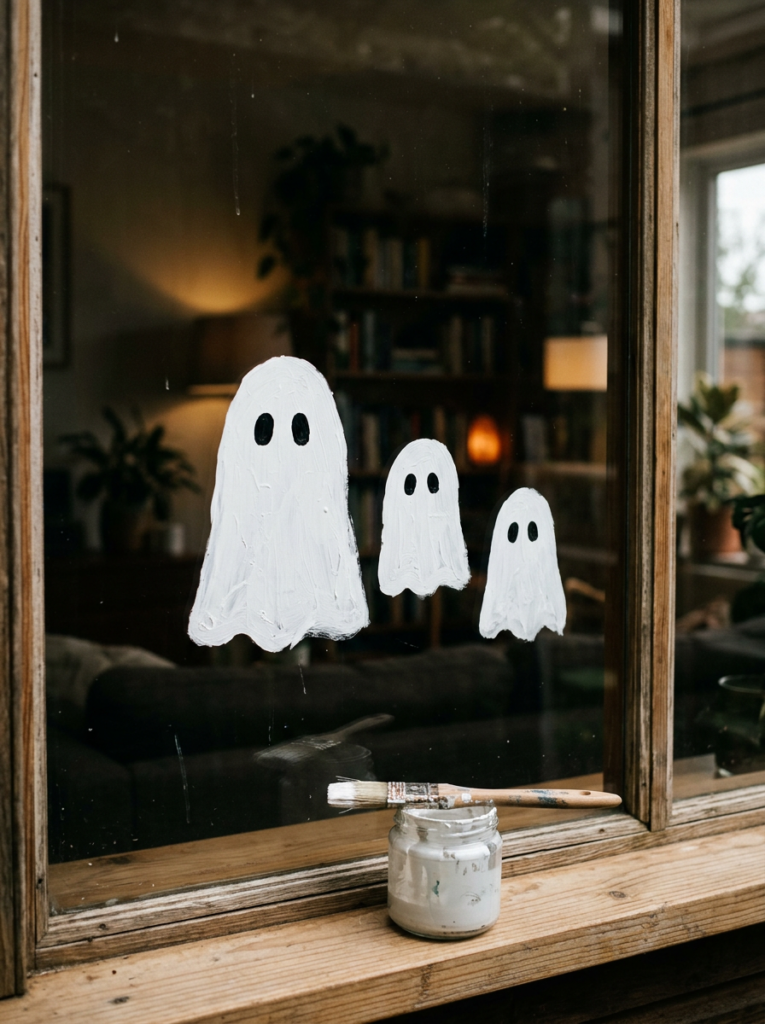
Ghosts are the easiest Halloween window painting idea for beginners. Paint a white teardrop shape, add two black ovals for eyes, and you finish in minutes.
Vary the sizes to give the group a family feel. I like one big ghost with two small ones floating beside it, because it tells a tiny story.
White paint shows best when the room behind the glass stays dark. Add a second coat after the first dries so your ghosts glow at night.
Idea 2: Black Bat Silhouettes
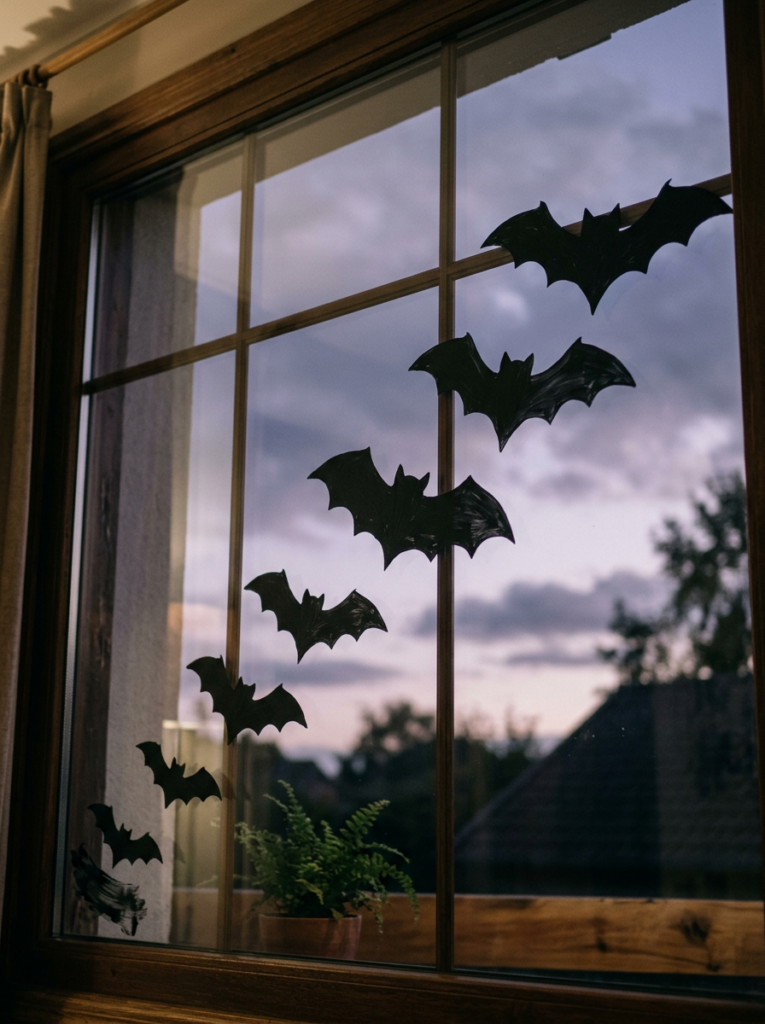
Bats look sharp because black paint stands out in daylight and under porch lights. Paint a small oval body, then curve two wings on each side with scalloped bottom edges.
Scatter the bats in a diagonal line so they look like they fly out of a cave. Mix big and small shapes for depth.
Silhouettes forgive shaky hands. Solid black hides small mistakes, so this idea suits kids and anyone whose art skills peak at stick figures.
Idea 3: Jack-O’-Lantern Faces
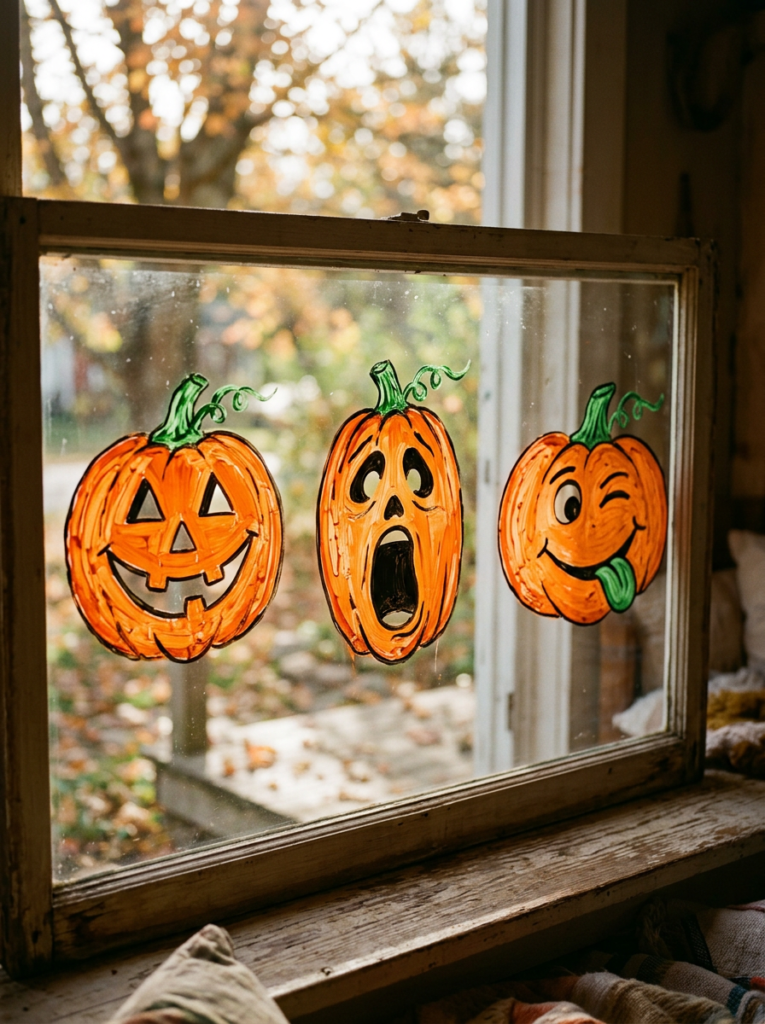
Pumpkin faces give you lots of personality for little work. Paint an orange circle, add a green stem, and outline the face in black.
Mix up the expressions with a grin, a scream, and a goofy tongue. I’d paint a different face on each pumpkin, since matching sets look stiff.
Let the orange dry before you add black features. Wet colors blend fast, and a muddy brown pumpkin helps nobody.
Idea 4: Spooky Spider Web Corner
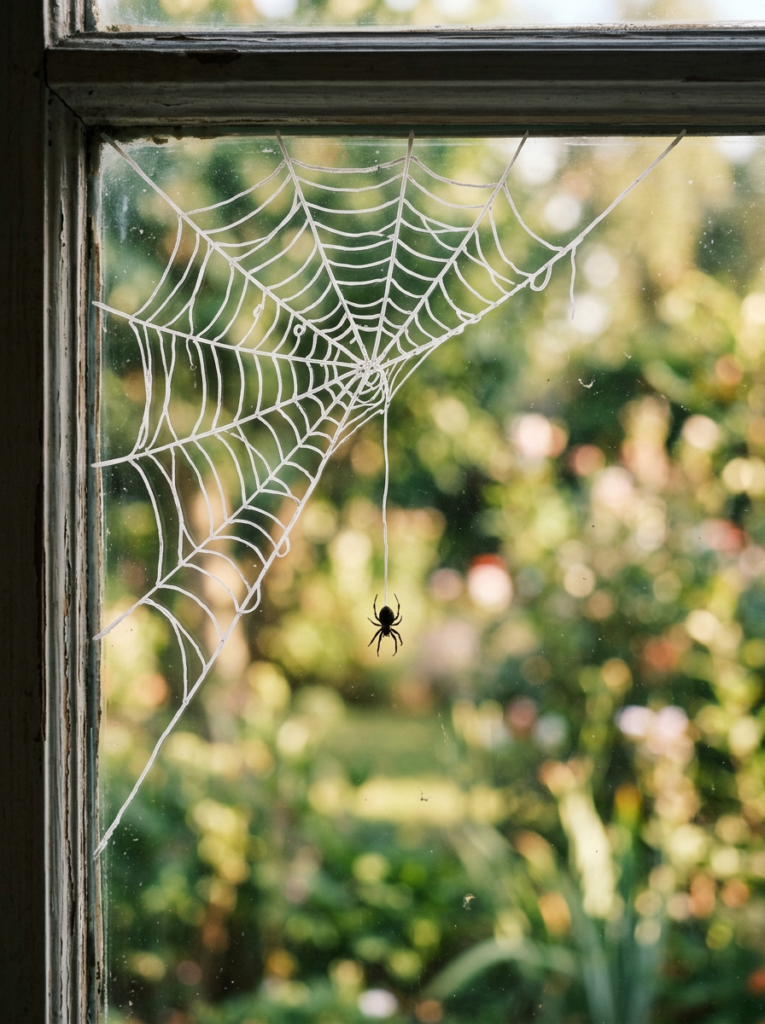
A spider web in the window corner looks creepy with almost no effort. Draw three or four straight lines from the corner, then connect them with curved lines.
I use a white window marker for this one. The thin line looks like real silk, and a brush makes the web too chunky.
Add a small black spider hanging from a single line. Stay away from your own corner on the day you finish, or your family will think the spider is real.
Idea 5: Haunted House Silhouette
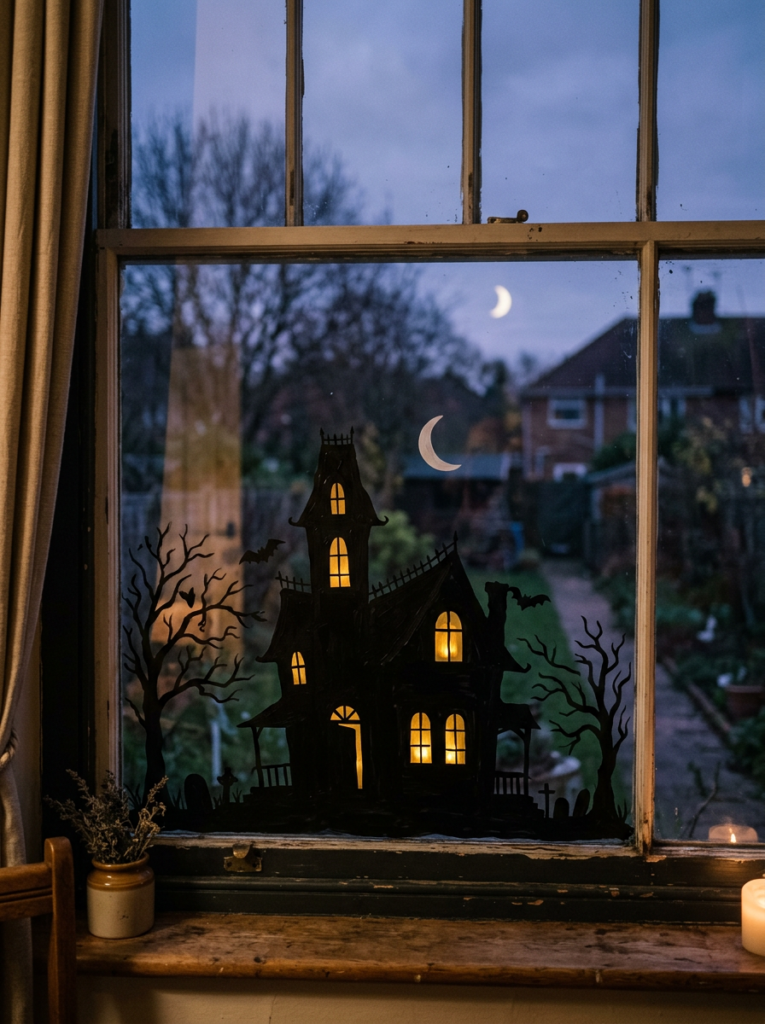
A haunted house gives your window a full scene. Paint the house in black along the bottom, with a crooked roof, a tall tower, and a few bare tree branches.
Color the windows yellow so they glow against the dark shapes. I’d leave a few windows empty, since a dark window feels creepier than a lit one.
Add a pale moon above the roof in white or light yellow. The contrast makes the house pop, even from across the street.
Idea 6: Black Cat on a Full Moon
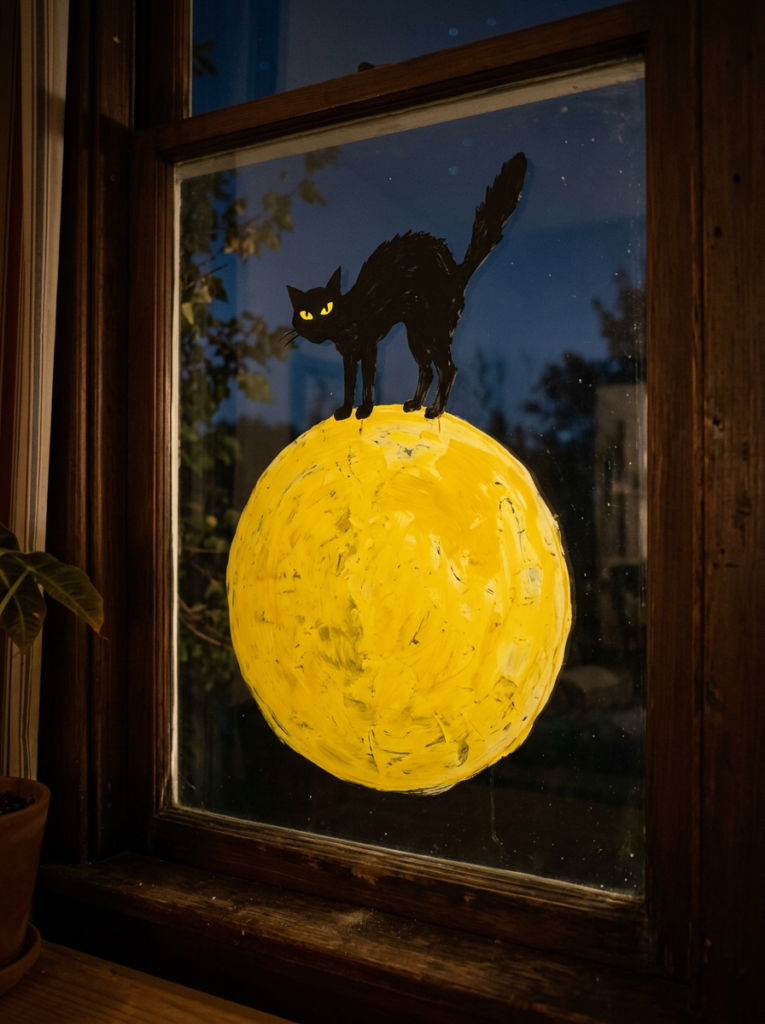
A black cat on a full moon is a classic Halloween window art idea. Paint a large yellow or white circle first and let it dry completely.
Next, paint the cat in black on top, with a curved back, a raised tail, and two pointed ears. Give it a sharp pair of yellow eyes for extra attitude.
This design works best on a large pane with open space around it. The cat looks mysterious, and honestly, it also looks like it judges your decorating skills.
Idea 7: Witch on a Broomstick
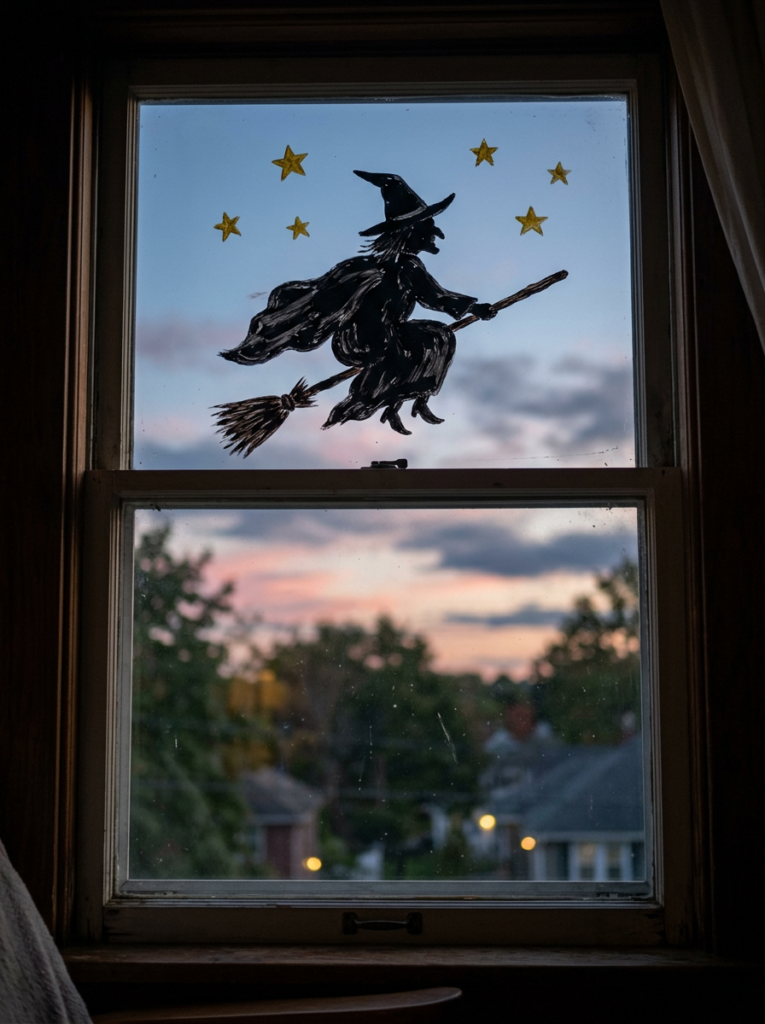
A flying witch adds movement to your windows. Paint a black pointed hat, a flowing cloak, and a thin broom with a straw tuft at the end.
Place her near the top of the glass, with a diagonal broom so she looks like she rides across the sky. A few small stars around her sell the night scene.
Keep the shapes simple and solid. Fine details disappear from the sidewalk, but a strong silhouette reads clearly from far away.
Idea 8: Glowing Eyes in the Dark
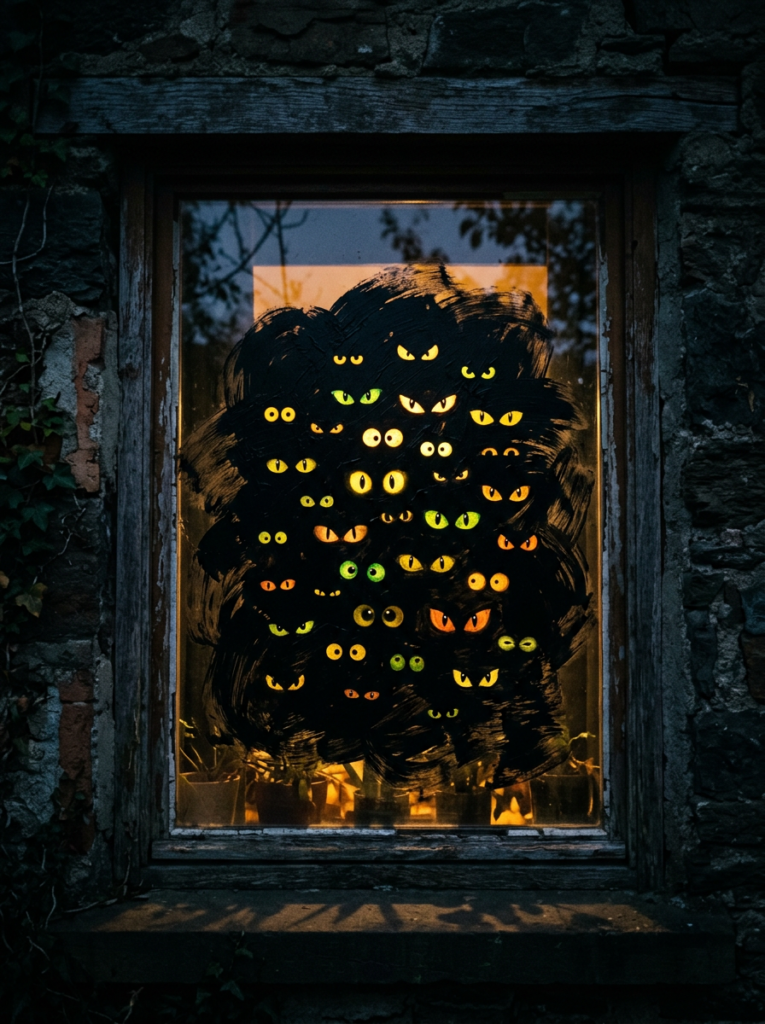
Glowing eyes peeking from a dark window cost the least and scare the most. Paint the glass black in a cloud shape, then add pairs of yellow, green, or orange eyes.
Vary the shapes with round, slanted, and tiny eyes so the scene feels crowded. I like adding one very large pair in the middle for a good jump scare.
This idea shines at night with a lamp behind the glass. The light makes the eyes glow, and trick-or-treaters will stop to count them.
Idea 9: Dripping BOO Lettering
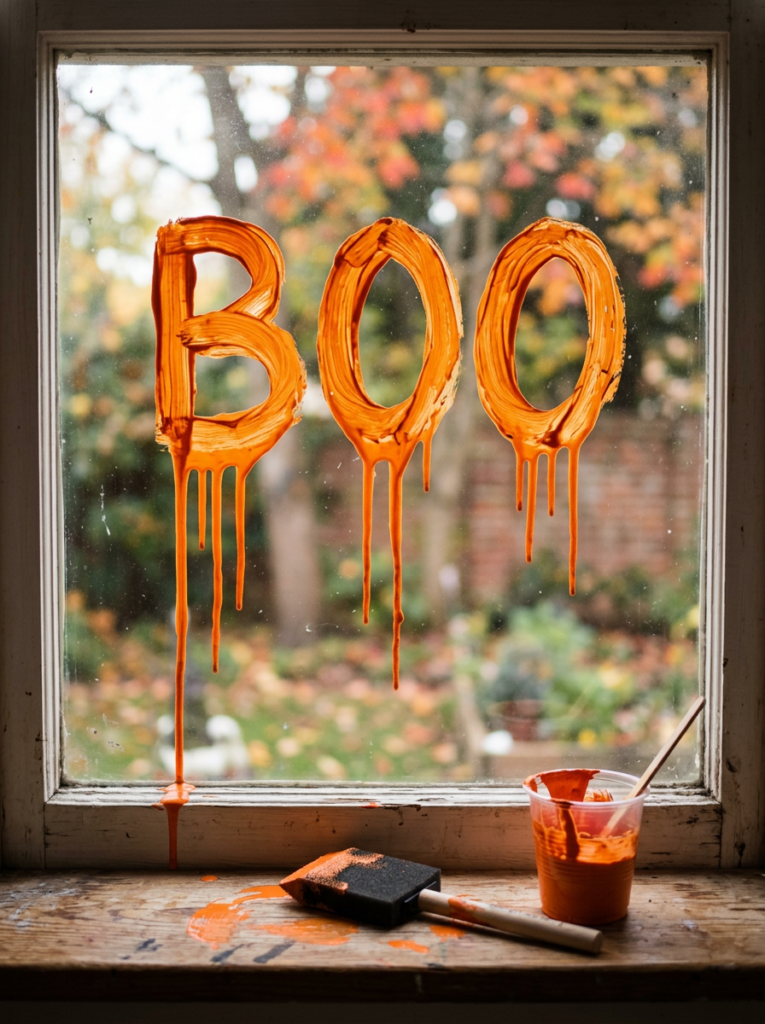
Big dripping letters spell out the mood in one glance. Paint “BOO” in thick block letters, then pull a few long drips down from the bottom edge.
I like orange or green paint here, since red drips can look too grim for a family street. A foam brush gives you smooth, chunky letters.
Practice the word on paper first. Uneven spacing shows up fast on glass, and nobody wants a window that says “BOQ”.
Idea 10: Graveyard Scene With Tombstones
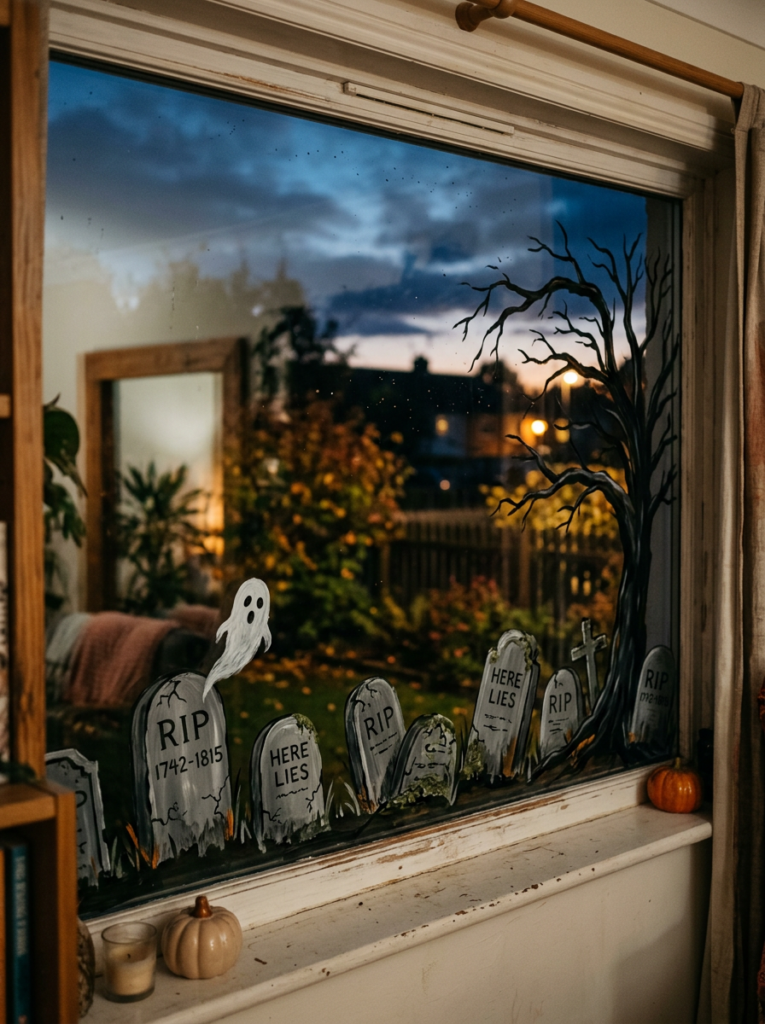
A graveyard scene fills a wide window with a full story. Paint a row of gray tombstones along the bottom, then add a few crooked crosses and a bare tree.
Use a white marker for “RIP” and tiny cracks on the stones. Little jokes like “Here Lies My Diet” make passersby smile.
Add a small ghost or a black cat sitting on one stone. This idea takes the longest, so I’d save it for your biggest pane.
5 Common Halloween Window Painting Mistakes to Avoid
Rushing the prep causes most problems. Dust and fingerprints keep paint from sticking, so wipe the glass with a clean cloth before you start.
Thin, watery paint runs down the pane and ruins your lines. Use a thick coat, and let each color dry before you paint the next one on top.
Picking the wrong paint makes cleanup painful. Washable tempera and window markers come off easily, while acrylic and oil-based paints can cling to glass for weeks.
| Mistake | What Happens | Easy Fix |
|---|---|---|
| Skipping the glass cleaning | Paint peels or smears | Wipe the pane first |
| Using watery paint | Drips ruin the design | Apply thick coats |
| Choosing permanent paint | Hard to remove later | Pick washable tempera |
| Painting in direct sun | Paint dries too fast and cracks | Work in the shade |
| Skipping a test spot | Surprise stains on tinted glass | Test a small corner |
Painting in direct sunlight dries the paint too fast, so it streaks and cracks. Choose a cloudy day or paint in the shade.
Skipping a test spot can surprise you later. Try a small corner first, especially on tinted or older glass.
When the holiday ends, wipe the paint off with a damp cloth. For stubborn spots, spray glass cleaner and rub gently.
Conclusion: Make Halloween Window Painting Your Easiest Decoration
Halloween window painting gives you a big spooky effect for a small cost. Washable paint, a few brushes, and simple shapes cover everything you need.
Start with easy designs like ghosts, bats, and pumpkins if you feel nervous. Move on to haunted houses, graveyards, and dripping letters once your hand warms up.
Prep the glass, use thick coats, and test a small spot first. Then enjoy the stares from the sidewalk.
FAQs About Halloween Window Painting
What paint works best for Halloween window painting?
Washable tempera paint works best for most people. It sticks to glass and wipes off easily. Window markers also work well for fine details.
How long does it take to paint a Halloween window?
A simple design like a ghost or bat takes about 15 to 30 minutes. A full scene like a graveyard takes one to two hours.
Can I paint on the outside of the window?
Yes, but rain can wash or smear the paint. Painting on the inside keeps your design safe, and it still looks great from outside.
How do I remove Halloween window paint?
Wipe the paint with a damp cloth first. For stubborn spots, spray glass cleaner and rub gently until the glass is clear.
Will window paint damage my glass?
Washable paint should not damage standard glass. I always test a small corner first, especially on tinted or older windows.
Can kids help with Halloween window painting?
Yes, kids love it. Give them easy shapes like ghosts and pumpkins, and tape paper on the floor to catch drips.
Do I need art skills to paint a Halloween window?
No, you do not. Silhouettes and simple shapes look great even with a shaky hand. Practice on paper first if you feel nervous.