How to Panel a Chimney Breast in a Living Room: A Step-by-Step Guide Using B&Q Materials
A Plain Chimney Breast Is a Missed Opportunity
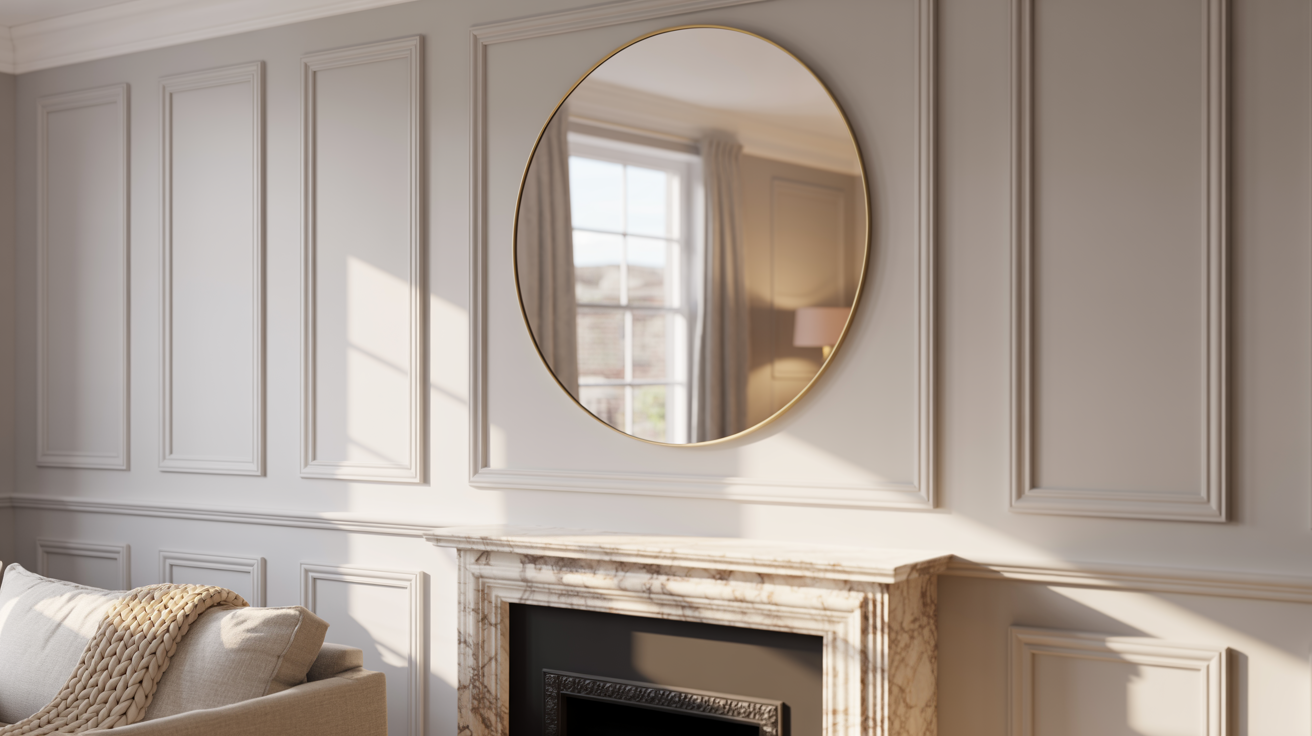
Panelling a chimney breast is one of the best things you can do for a living room. It adds character, texture, and that “wow” moment guests notice the second they walk in. I’ve seen plain chimney breasts sit there looking forgotten, and honestly, it feels like leaving the best wall in the room completely blank.
The good news is that B&Q stocks everything you need, from MDF panel moulding to tongue and groove boards, at prices that won’t make you cry at the checkout. You don’t need a building degree or a team of contractors. With the right materials, a free weekend, and a bit of patience, this is a genuinely achievable DIY project.
In this guide, I’ll walk you through the full process step by step. Whether you’re going for a classic shaker look, a bold geometric pattern, or something in between, this article covers it all.
What You Need Before You Start: Tools and B&Q Materials
Before you pick up a paintbrush or a saw, getting your materials sorted makes everything smoother. A rushed trip to B&Q mid-project is nobody’s idea of a good Saturday afternoon.
Here’s a breakdown of what you’ll typically need:
| Item | Purpose | Available at B&Q |
|---|---|---|
| MDF Panel Moulding Strips | Creating frame patterns | Yes |
| Tongue & Groove Boards | Full coverage panelling | Yes |
| No More Nails Adhesive | Fixing panels to wall | Yes |
| Caulk and Caulking Gun | Filling gaps and edges | Yes |
| Sandpaper (120 grit) | Smoothing surfaces | Yes |
| Primer and Paint | Finishing the panels | Yes |
| Spirit Level | Keeping lines straight | Yes |
| Mitre Saw or Hand Saw | Cutting moulding to size | Yes |
| Tape Measure and Pencil | Marking out the design | Yes |
B&Q’s own-brand Colours paint range works well for chimney breast panelling, especially in heritage shades like Sage, Slate, and Warm White. I personally love pairing a dark panel colour with lighter walls for that editorial look.
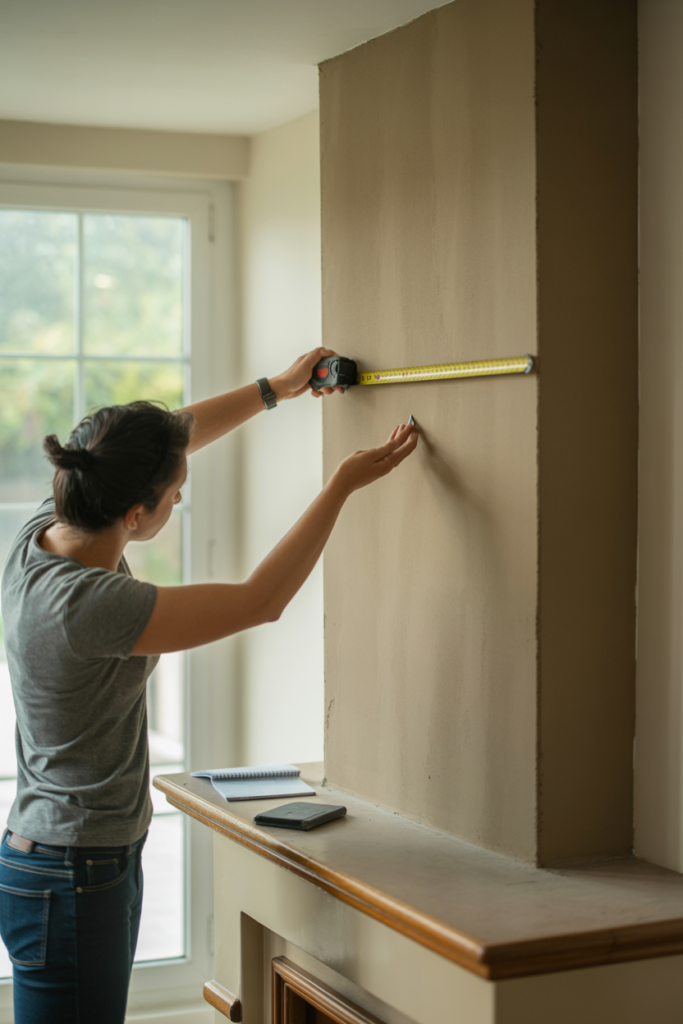
Step 1: Measure Your Chimney Breast Carefully
Accurate measurements are the difference between a professional finish and a panel that looks like it was fitted by someone in a hurry. Start by measuring the full width and height of your chimney breast, including any alcoves on either side.
Write every measurement down twice. It sounds excessive, but trust me, you’ll thank yourself later. Mark out your panel layout on paper before transferring anything to the wall.
Most chimney breasts sit between 90cm and 130cm wide, with a height from skirting to ceiling of around 220cm to 240cm. These numbers matter because they determine how many MDF strips you’ll need and how to space your frames evenly.
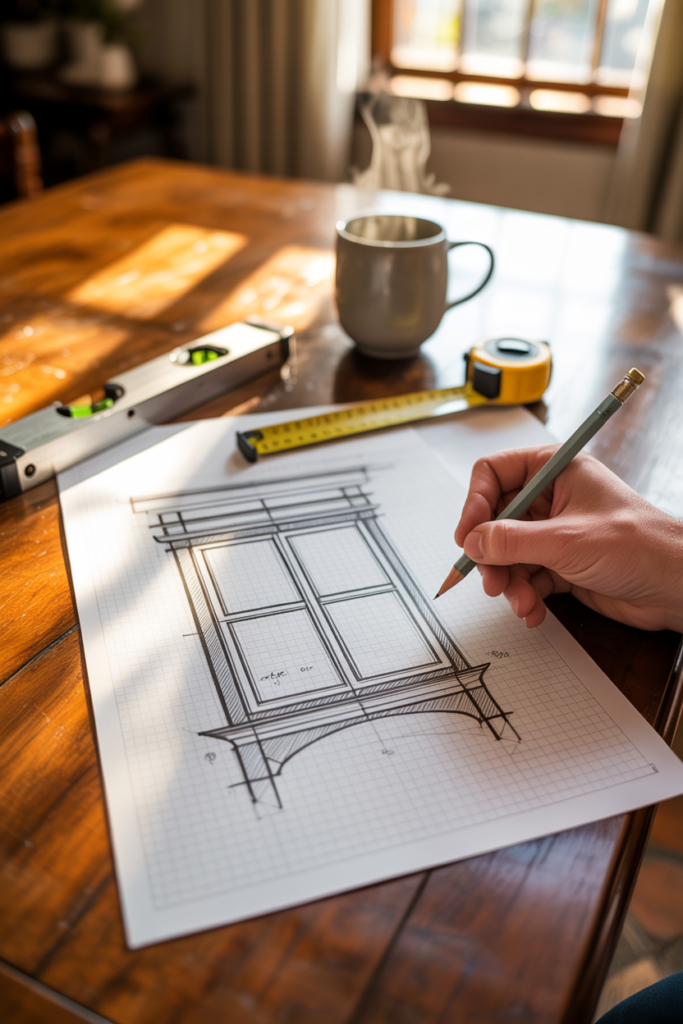
Step 2: Plan Your Panel Layout and Design
This is the part where you get to be creative. The most popular styles for chimney breast panelling include classic grid frames, vertical tongue and groove, and geometric diamond patterns. Each gives a completely different feel to the room.
For a traditional living room, I’d suggest a simple 3-panel grid using MDF moulding strips. It’s clean, structured, and looks genuinely expensive without a huge outlay. For a more modern space, vertical panelling from floor to ceiling creates a sleek, contemporary look.
Sketch your layout on paper and mark the frame positions lightly in pencil on the wall. Use a spirit level obsessively here. A panel that’s even slightly off-square will irritate you every single time you look at it.
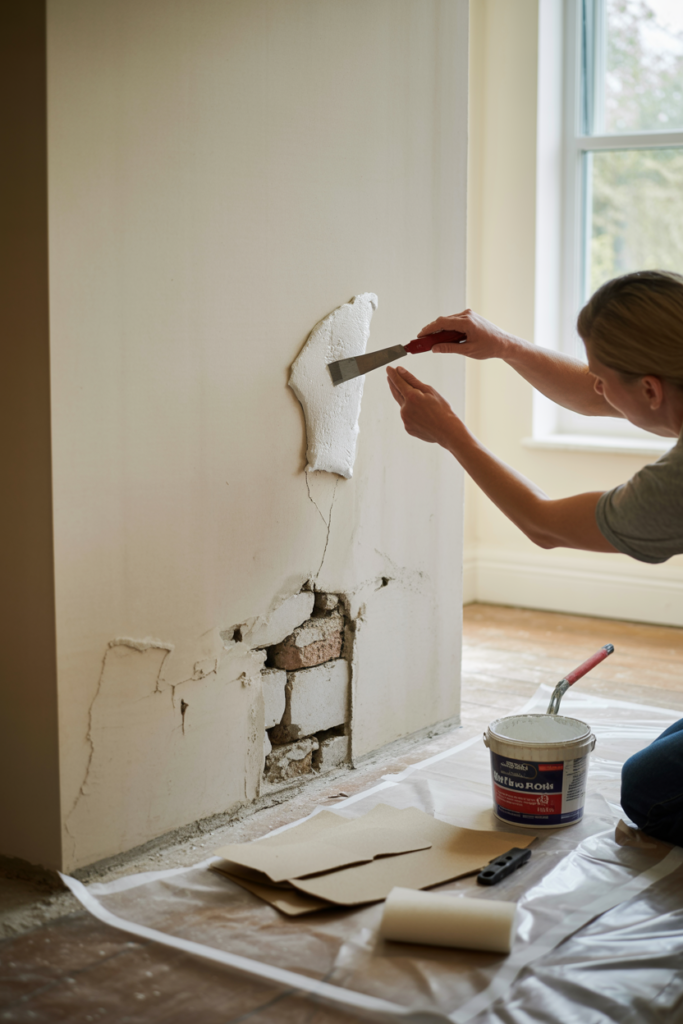
Step 3: Prepare the Wall Surface
A smooth wall gives your panels the best possible base. Fill any cracks or holes with ready-mixed filler from B&Q, then sand everything down once it’s dry. Any bumps left under the panels will show through the finished surface.
Wipe the wall down with a slightly damp cloth to remove dust and grease. This step matters more than people think. Adhesive bonds far better to a clean surface than a dusty one.
If your chimney breast has existing wallpaper, remove it fully before panelling. Papering over old wallpaper and then sticking panels on top is asking for problems down the line.
Step 4: Cut Your MDF Moulding Strips to Size
B&Q sells MDF architrave and panel moulding in various profiles, and most can be cut with a basic hand saw or a mitre saw. Cut each strip to your pre-measured lengths, making sure to mitre the corners at 45 degrees for a neat, professional join.
A mitre box from B&Q costs very little and makes accurate 45-degree cuts far easier for beginners. Dry-fit every piece before applying any adhesive. If something doesn’t sit right, it’s much easier to correct before the glue goes on.
Label each cut piece with a small piece of masking tape so you know exactly where each one goes. It sounds fussy, but on a large chimney breast with multiple panels, this saves real time.

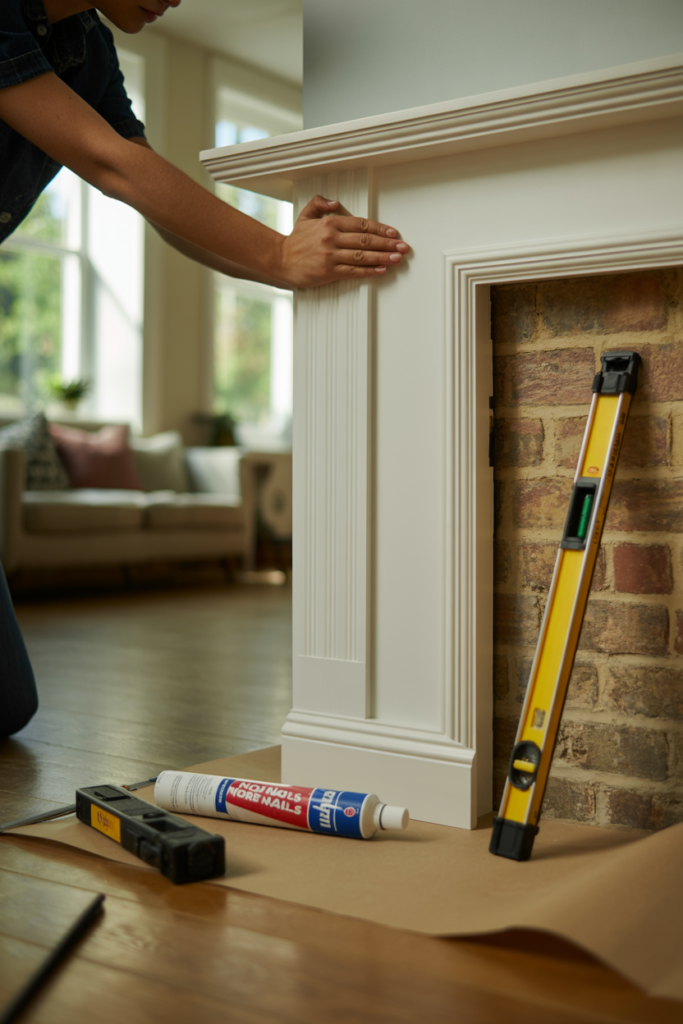
Step 5: Fix the Panels to the Wall
Apply No More Nails adhesive to the back of each MDF strip in a zigzag pattern. Press firmly against the wall and hold for around 30 seconds. Use panel pins for extra security on larger pieces, especially if your walls are slightly uneven.
Work from the outside frame inward. Fix the perimeter strips first, then add the inner decorative moulding once the outer frame is secure. This approach keeps everything aligned and gives you clear reference points as you go.
Check with a spirit level after every single strip. I know it feels slow, but rushing this step is how you end up with a panel that looks more abstract art than interior design.
Step 6: Fill, Sand, and Prime
Once all panels are fixed and fully dry (give the adhesive at least 24 hours), fill every nail hole and join with fine surface filler. Sand smooth once dry, then wipe away the dust.
Apply a coat of B&Q’s multi-surface primer to the entire panelled chimney breast before painting. Primer seals the MDF edges, which absorb paint heavily and can look patchy if you skip this step. One good coat of primer saves you at least one extra coat of topcoat later.
MDF edges in particular need sealing properly. Without primer, they drink paint like a sponge and you’ll burn through twice as much paint to get a smooth, even finish.
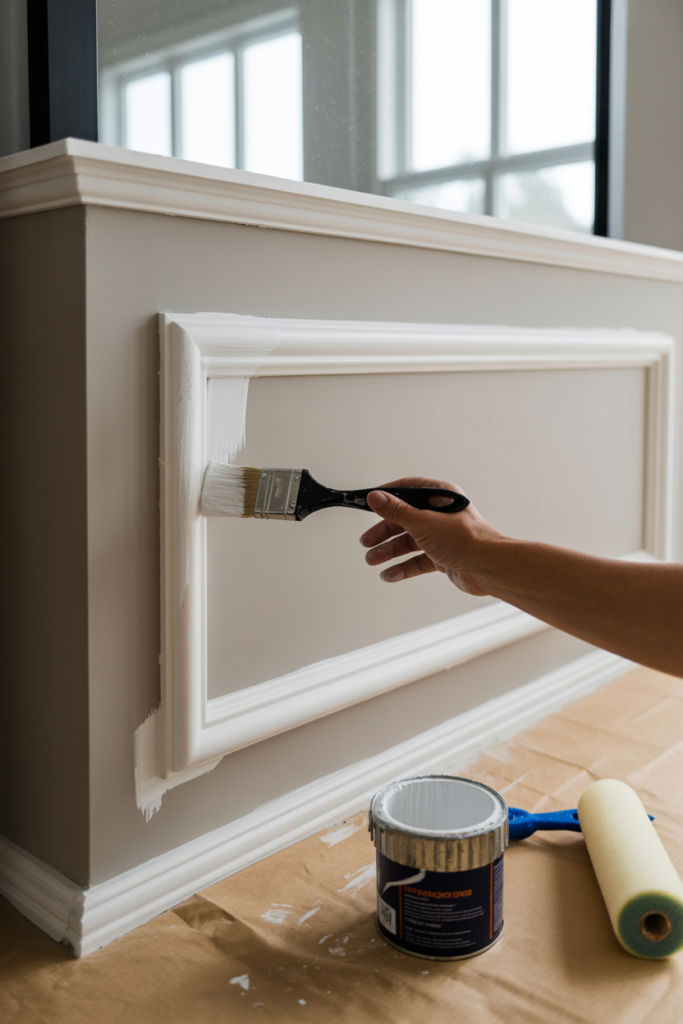
Step 7: Paint for a Finish That Actually Looks Good
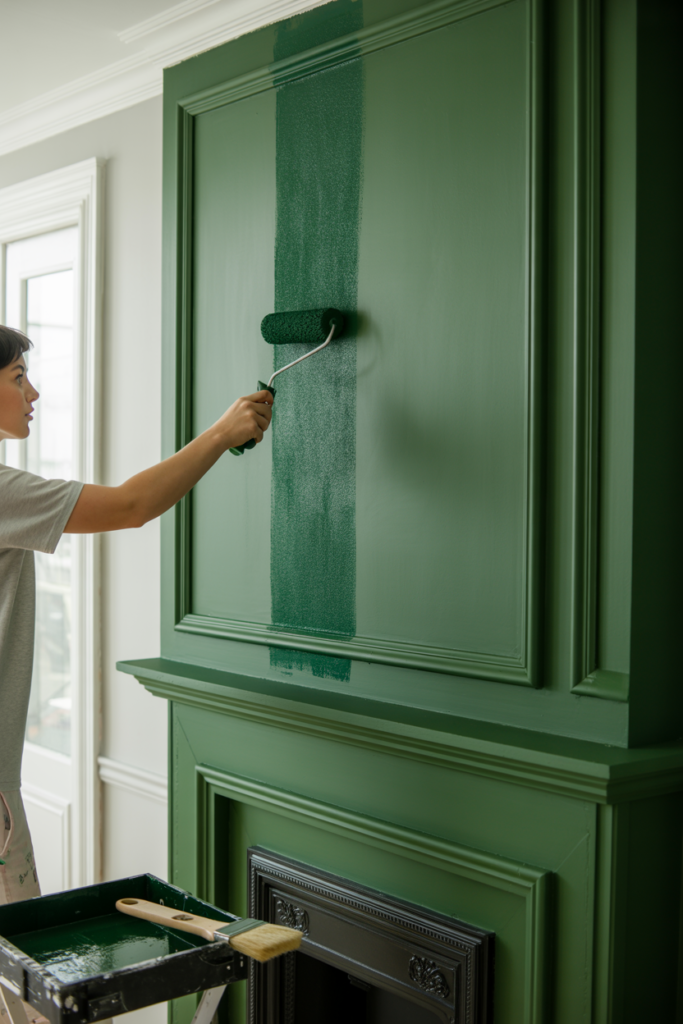
This is where the whole project comes together. Use a small foam roller for the flat panel surfaces and a fine brush for the moulding detail. Two coats of your chosen colour, sanded lightly between coats, gives a finish that looks like it came straight from a design magazine.
Flat or eggshell finishes work best for panelling in living rooms. Gloss picks up every imperfection, which is less than ideal after all that careful prep work. B&Q’s Colours range in eggshell is affordable and gives a lovely depth of colour.
My personal favourite combinations for a chimney breast are deep forest green with brass accessories, soft grey-blue with white walls, or a warm off-white for a classic period look. All of these shades sit comfortably within B&Q’s standard paint range.
Best B&Q Panel Styles for a Living Room Chimney Breast
Choosing the right panel style sets the entire mood of your living room. The three most popular options at B&Q each suit a different aesthetic, and it’s worth knowing what each one delivers before you commit.
| Panel Style | Best For | B&Q Product Type | Difficulty |
|---|---|---|---|
| MDF Frame Moulding | Classic, traditional rooms | Architrave and panel moulding strips | Easy |
| Tongue and Groove | Coastal, Scandi, farmhouse | Tongue and groove cladding boards | Easy to Medium |
| Geometric/Diamond | Modern, maximalist rooms | Cut MDF sheet panels | Medium |
| Full Height Vertical Strips | Contemporary, minimalist | Flat MDF strips | Easy |
MDF frame panelling is the most forgiving option for DIY beginners. Tongue and groove boards require slightly more precision at the cutting stage but give a beautifully textured result. Geometric patterns take more planning but create a genuinely striking focal point above the fireplace.